Saturday 1 October 2016

The Cypra Incident: Birth of the Beast Game 2 (RECONNAISSANCE) Write Up

Hi All,

This post explains our second game in the Cypra Incident and involves the 19th Dicers sneaking into an ork held compound.  If you are new to our 40k narrative campaign can I recommend for understanding you check back on through the following links.


I suggest first checking out this post which links back to all the early content for the Cypra Incident.
This first and second game required some unique terrain and Boss Bludtoof put together some fantastic stuff check it out here.

The next link is the video battle report for mission 1 'Scavengers'.  This was our first attempt at a video battle report.  It is clear filming on a I-pad and this being our first go at it means it isn't the greatest quality.  However, its not too long and gives us a great history to look back on for this campaign.  Check it out here if you want some history.

Mission 2:

Right confession first this post has taken a long time to be put together.  We attempted to film a second battle report for this mission and the footage had terrible sound issues.  So i have abandoned showing you any footage and decided a write up will have to suffice.  We may return to video later in the campaign.

This mission involved a small force of the 19th dicers sneaking into a ork held camp.  We essentially set up a camp occupied by ork sentries, a couple of guard towers and of course some ork bikers racing around the camp (normal ork behaviour right?)


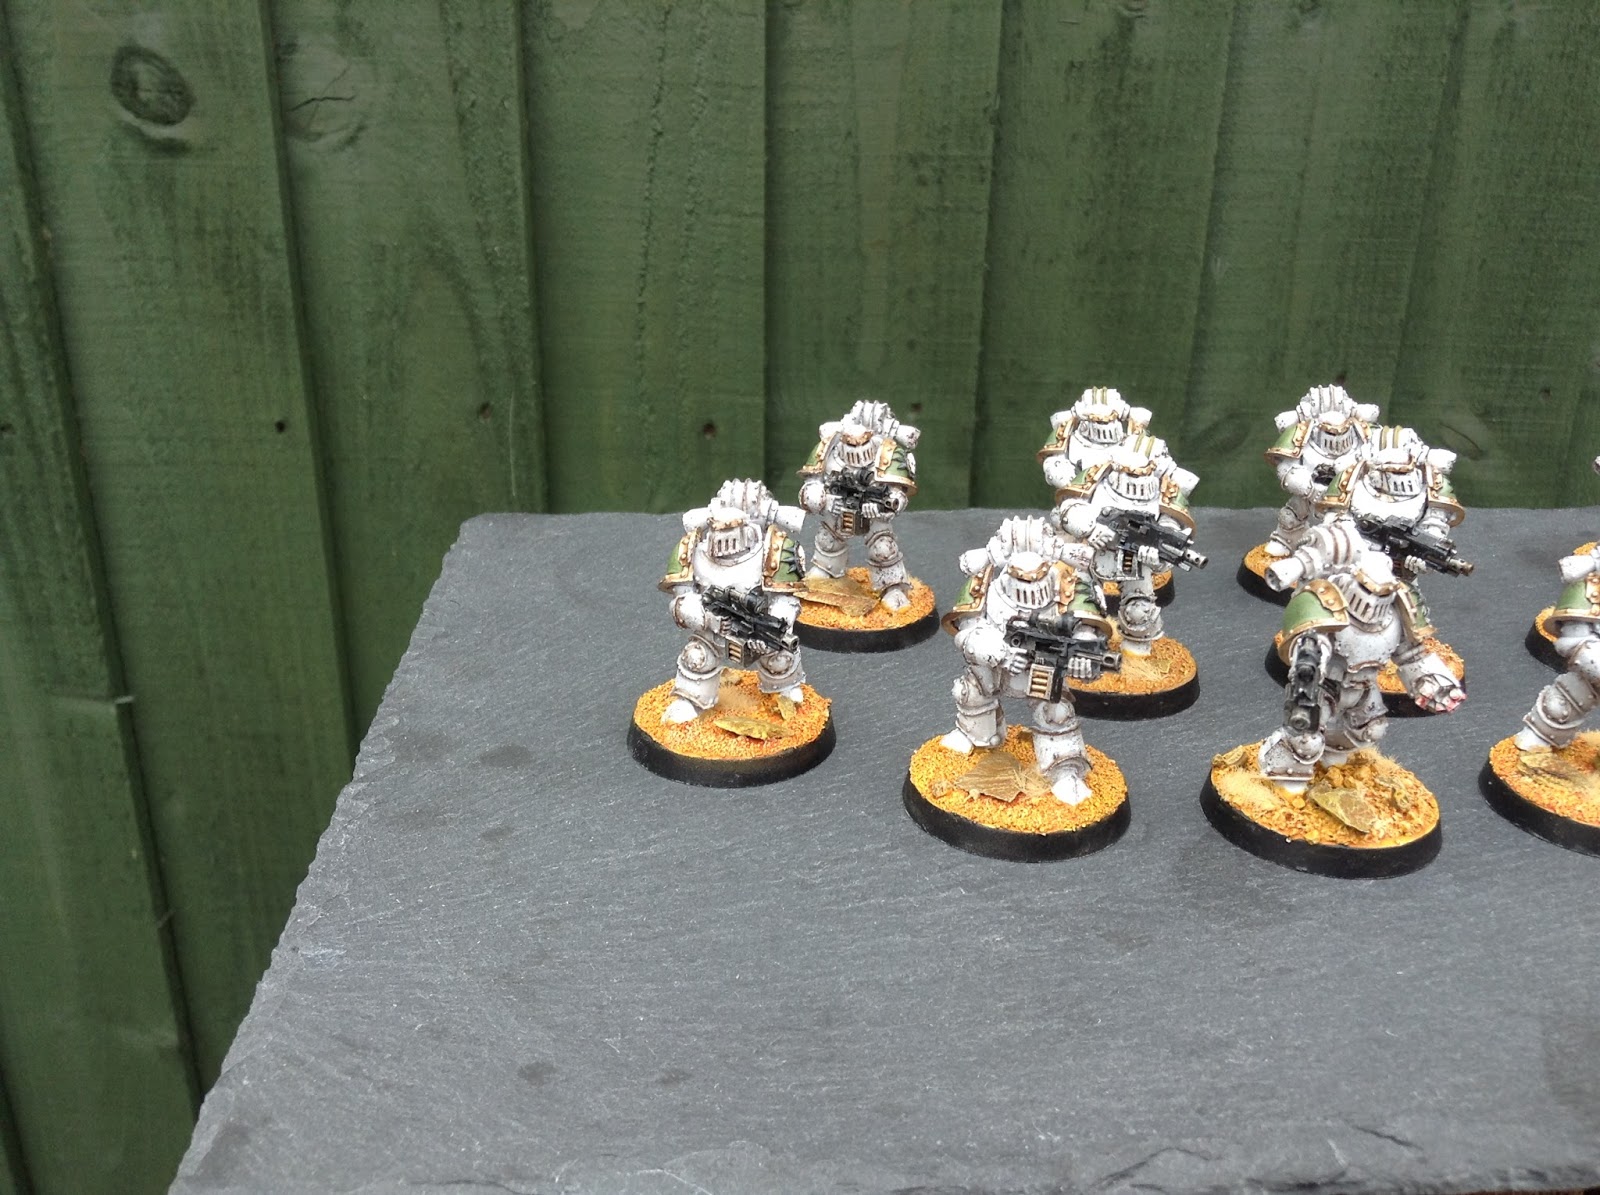
The imperial recon force consisted of 10 veterans and 7 ratling snipers.  There were 3 points on the battlefield which needed reaching to steal all the data.  

In order to play the mission and work out how the imperials could sneak about we decided to use the same method as the old Necromunda rules for the ork sentries.  That is each sentry turn we both rolled a dice for each ork sentry with the winner being able to move the ork sentry the distance on the dice.  If the orks got to within initiative range the alarm would be raised and various ork forces could move onto to the table on the next turn.  If any weapon fire took place the alarm would also be raised and if an ork survived close combat the alarm would be raised.  


Early on the alarm was nearly raised in turn two and then at the critical point the orks turned the wrong way.  We thoroughly expected the alarm to go off but in the end I managed after a high number of turns to sneak in and out with the information.  This proved quite a shock to us both but we decided to go with it.  It was also a strange outcome when we had painted new troops for the reserves and then never used them.  However, we both felt it fit the narrative well and led nicely on to a next mission of the 19th Dicers trying to escape through ork territory with the information they had stolen.

We decided to aptly name the next mission "Running the Gorklet" and discussed the forces that would be involved.  I will not steal the thunder of the next mission write up but it meant we both had to build and paint some more guard and orks which has been the aim of the campaign all the way through.

Hope you enjoyed this short write up and apologies for no video :-(.  Expect to see some more arming for the cypra incident posts as we get ready for mission 3.

Cheers

Doc Out..........................

Monday 26 September 2016

Thunderbolts Chapter, 1st Company Reinforcements

Hi All

Bluddtoof here with an update on my recent work on some Assault Terminators and a couple of character models. All these models were originally painted a few years ago but I'd only given them a basic paint job on the weapons. I painted up the Captain and tried a lightning effect on his hammers to represent the power field.
Recently I was preparing for a big apoc game and decided I wnted to run all my termies, so I decided to update the ir weapons to be like the captains, at the same time I needed to rearm my Chaplain who was previously armed based on a much older codex version, so he got a new shiny Crozius and a combi flamer, all the better for purging the Heretic!

Some pics...


..of the newly re-armed 1st company assault squads.

At some point in the hopefully not too distant future I will be re-basing the entire marine army to be more inline with my Imperial Knights, for posts on them see here , here , here , also here , here , this too , and this , this , this as well as here , here and finally (or initially) here

Next job is my Typhon, and a vindicator which I will be painting using my new airbrush, so some practice is ongoing with this new tool.

Bluddtoof

Thursday 15 September 2016

Showcase - Death Guard Legion Tactical Squad in Mk3 Armour


Hi All,

Ok so those who follow the blog will know I have been really toying with Heresy Death Guard for quite a long time.  Something along the lines of two years.  In that time since I started the project has changed significantly.  It started off as a 40k/30k army, the paint scheme was originally by hand and now the scheme involves a lot of airbrushing.  So yes its changed.

As part of the ever changing process and to come to a final decision I have now modified the bases as well.  I have been using the brown design for so long and on 4 other armies so I needed a change.  With this in mind the first thing I did was experiment a lot as illustrated by the pictures below:


These were all deemed failure in the end although I quite liked the high contrast red finish.  In the end I plumped for the base design you will see showcased on my first legion tactical squad below.

This tactical squad completes my first Hobby Season completion.   I am so happy with the finish and base contrast and hope this is the end of changing my mind and means I can push forward on getting units finished up.

So first project is complete:


As always comments are welcome.  If the interest is there I will be happy to describe my process for painting these dudes up.

Cheers

DOC

Tuesday 13 September 2016

Trying something new...

Hey guys and girls

Something a little new for you all this time, The sons of Magnus the Red :)
Had a request from a client to attack a small force of Thousand Sons marines for 30k and the FW colour scheme was mentioned so I decided to have a crack at it and see how it went. 
I did a little digging online and found (from the Dakka Website if memory serves?) that somebody had emailed Forgeworld and asked them how they achieve the shiny red of their Thousand Sons and they provided the recipe! 

It's probably worth pointing out at this point that the bulk of the red was done with an airbrush although I see no reason the scheme couldn't be replicated with a standard brush.

Firstly the model was coated in Lead Beltcher base metallic.
Then only spraying from above, the model was highlighted with Runefang Silver to highlight.

Then the fun bit....

Using 4 good, thin coats, the model was airbrushed with Forgeworlds Angron Red Clear Paint. This took a while as it was important to let the model dry after each layer so ideally doing these in bulk would be prudent.


Once a good shade has been acquired, use Nuln Oil in the recesses to give a little depth to the colour.
Once that's dried, using a good sharp brush, edge highlight the red with Runefang Steel to really make those for edges snap.


Once the red was complete, I began to pick out the detailing in Brass Scorpion (Honestly one of my favourite paints, it just covers so well and works fantastically as a base for gold or silver builds). After the Brass I built up the golds using another 2 or 3 different GW shades until I was happy with the look.


Then it was simply a case of picking bits I fancied and finishing them before moving onto the next part. 
My style of painting has changed a little of late, I used to favour getting all the base colours done on a model before going back and bringing the detail out but more recently I've changed my approach to starting and finishing specific parts of a model before attacking the next. This works better on high level character models etc instead of batch painting line minis but allows me to keep interested as I play, both starting something and finishing it in a session is incredibly rewarding. 

Any way - that's about the jist of how I tackled the Traitor Librarian, I'll leave you with some pics of the finished mini. I haven't enjoyed painting a model as much as this in a long time :) 

Thanks for reading and if you've any questions please shout them up in the comments!

DB 


Tuesday 30 August 2016

Showcase; Imperial Knight Errant, Winter Effects Weathering

Hi All

Bluddtoof here, finally I've got round to finishing off the weathering on my Freeblade Knight Errant. It's only taken me 2 years!
So I was really quite nervous about this little project; the knight is probably my best work to date, I was very concerned I'd mess up the finish with poorly done weathering, I'm not experienced at all with weathering.
I'd done quite a bit of research on different methods and materials over the last year or so, a lot of advice came from my code40k colleagues, a big shout out to the boys for the help!
I bought a winter effects kit a while back that has quite good instructions included, Scene- A-Rama is the brand, and I experimented a bit with the various materials with mixed results.
The "snow base" liquid makes an excellent base layer for applying snow in the form of flock or powder, the snow powder in the kit is made of crystals of varying sizes all mixed up, I used it in conjunction with GW snow flock and Bicarb, applied in different layers for the final finish. This came after a great deal of playing around. Some of it I then coated in the "Ice Effects" liquid, a thickish clear resin that sets real quick.
All of this worked ok and was pretty easy after I'd worked out the method.
The tricky bit was Icicles, I knew I wanted the knight to be crusted with icicles hanging from the shoulder guards and carapace to simulate it having stood sentry for ages in sub zero temperatures and now just awoken to the call to arms. The kit has instructions to use the ice resin to make icicles...... it doesn't work, I tried and tried and tried, the resin just spreads and makes an icicle shaped flat sheet.... no good for the application I wanted..... so.... Luko Dakka delivered the solution with a quick explanation of how he used melted flying stems.....some practice later..... and Icicles I'm really pleased with! Hurrah! A word of warning tho if you try the melting plastic method...open a window and wear a face mask, nasty fumes.
In case you've not tried it here's my method I used....
Over a tea candle, hold a flying stem at both ends with a pair of needle nosed pliers in each hand. Hold the stem about 10-20mm above the flame, too close and it will scorch and even ignite...that was an interesting minute or so! Too high and you'll be waiting a LONG time. Keep a close eye on the surface of the plastic, it will start to develop fine striations and very shortly it will sag visibly.. Immediately apply a little tension and REMOVE from the heat, keep the gentle tension applied and the stem should quickly stretch very thin, keep pulling gently and the plastic should keep stretching with the thick end bits slowly feeding into the thin middle bit, you'll feel the resistance increase gradually, keep applying gentle tension until it won't stretch any more. You should now be able to let go and you'll have a long piece of plastic with a really thin middle section flaring out at both ends to fat bits. Chop this in the middle and cut/shape the fat ends to create the bit that connects to the surface the icicle will hang from, 2 icicles from 1 bit. You can then go on to do the same with the chopped of ends too if they're big enough.
This took me a few attempts to get right, it's very much a matter of FEEL with each piece, if you pull too fast it'll snap and then curl up.....ruined! Pull too little it'll just sag, too long over the heat...sag, burn, mess! Thankfully clear plastic flyer stems are cheap and plentiful, you generally get extras with any skimmer model.
One thing I did find tho was that once you've melted a piece and let it set again it doesn't melt cleanly ever again, I'm sure a chemist could explain it!

Anyhoo, enough blather! Piccies....


As you can see I haven't applied a huge amout of snow on it, I didn't want to obscure the paint job too much but I wanted it to look like it had recently had snow fall which has been dislodged as it starts to move.
Hope you like it, I do, I'm very pleased with the finish and I'm looking forward to rest of my Knights and trying different winter effects methods on them.
As ever C&C welcome....

Bluddtoof