Bluddtoof here with a write up of our latest mission within the narrative campaign; The Cypra Incident. This is mission 5 and covers the 19th Dicers assault on the Orks primary airfield. The location of this airfield was acquired from the data collected in the Dicers earlier successes. Destroying this base would cripple the Orks ability to deploy air units throughout the remaining conflict. So the Imperial forces have launched a 2 pronged assault; a ground assault to target specific structures and command nodes, and an aerial assault in the form of a Marauder Bomber with fighter escort whose sole purpose is to deploy its payload over the runway.
If you haven't been following us here then you can find all our previous posts by clicking on the nice link near the top left of the page.
Mission Summary and Objectives
Astra Militarum; Imperial Regiment the 19th Dicers
1. Destroy Control Tower
2. Destroy Mek Shop
3. Drop Marauder Payload on Airfield
Orks of Waaagh! Bluddtoof
1. Kill da humies command assets;
A) Sly Marbo
B) Astropath
C) Master of Ordnance
This mission is to be run on 2 separate maps; a bare desert map for the aerial battle to represent the Imperial bombing run approach, which will see the 2 forces deploying only units with the Fly keyword, and an airfield map comprising a runway, control tower, mekshop and a defensive perimeter of fencing, barricades and weapon emplacements.
The Orks will deploy first and in full on the Airfield to represent the forces stationed there.
The Imperials will deploy first and in full on the desert map, the Marauder central on the map with its escort in formation, then the Orks will deploy as per entering combat airspace.
The Imperials will take 1st Turn and both maps will run simultaneously. We decided to represent the aerial fight using the Dogfight rules in the main 40k rule book (pp268) however the Marauder would remain static in centre board with the fight going on around it, also Doc would not pay power for the marauder in his force to balance its inflexibility. On the airfield board the Imperials will move on from board edge in turn 1.
The Forces:
Bluddtoofs Airfield Defence Force
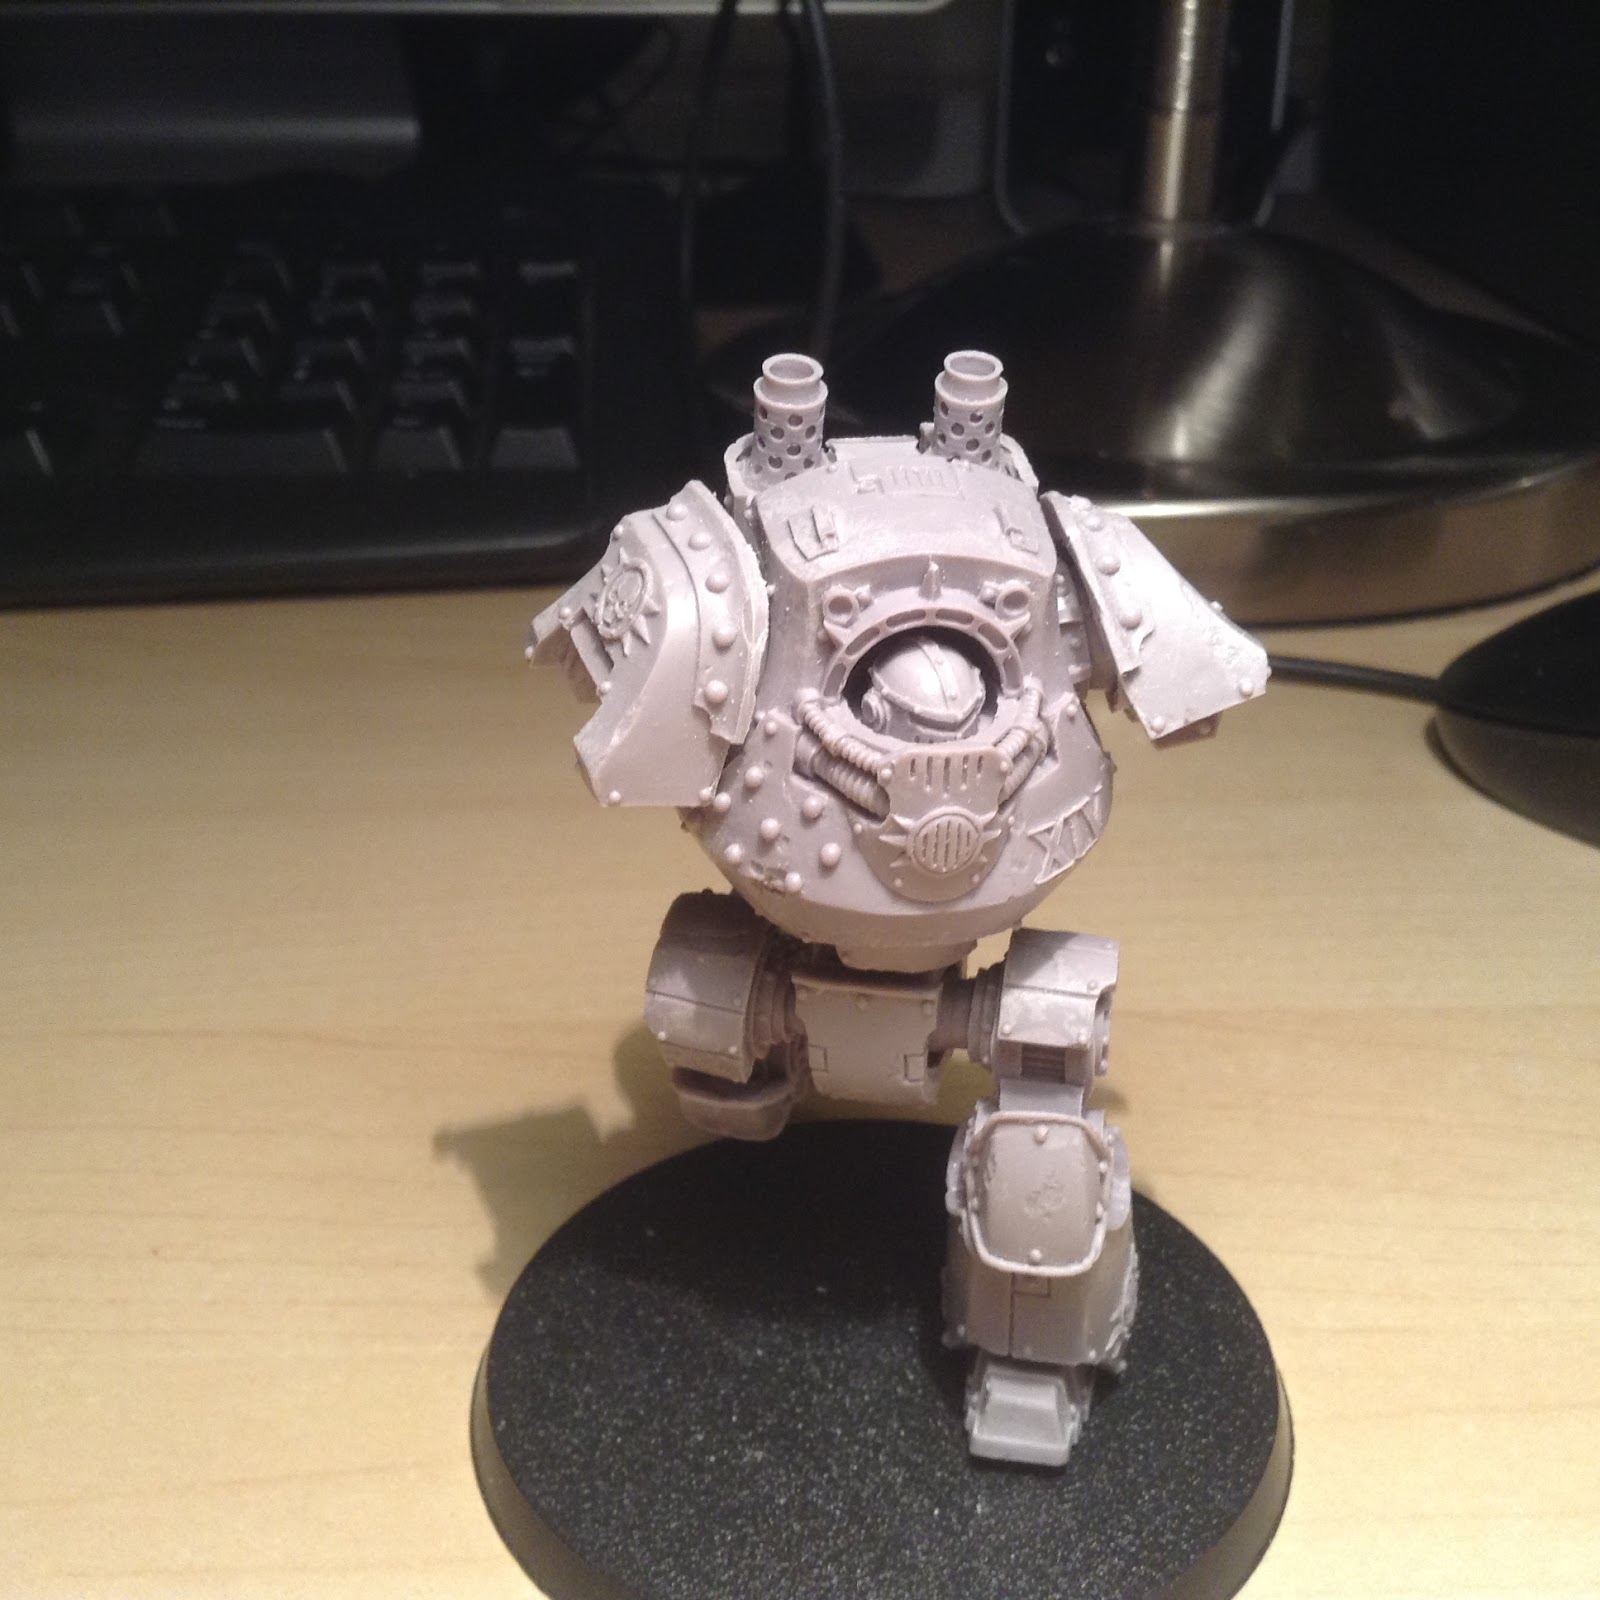
Big Mek Grubnutz with Shokk Attack Gun
12 Burnas and 3 Spannas with kustom mega blastas
Runtherd with grot lash and grabba stick
30 Grotz
20 Strormboyz, Boss Nob with powerklaw
3 Warbikers, Biker Boss with big choppa/slugga, boys with choppas/sluggas
Looted Kart with rokkits and flakkagunz (not a codex unit but fitted the fluff)
Looted Wagon with kannon, zzappgun and 2 rokkits
Mek Gun with Bubblechukka
3 Killa kanz with grotzookas
3 Killa Kanz with grotzookas
12 Lootas and 3 spannas with rokkits
Bluddtoofs CAP
Wazbom Blastajet with wazbom mega kannons, smashagun, 2 supashootas and KFF
Dakkajet with 6 supashootas
Burna Bommer with twin big shoota,2 supashootas and skorcha missiles
3 Deffkoptas with kopta rokkits
3 Deffkoptas with kopta rokkits
3 Deffkoptas with kopta rokkits
Docs Airfield Assault Force
Company Commander Ironside
Astropath Zyon
Sly Marbo
2 Primaris Psykers
Commissar White
Master of Ordnance
2 Infantry Squads with plasma and lascannon
10 man Scion squad with double melta and power fist sergeant
10 Ratlings
Heavy Weapon Squad Mortars
Heavy Weapon Squad Lascannons
Heavy Weapon Squad Rockets
Heavy Weapon Squad Heavy Stubbers (not in rules technically but I had the models and they are low power)
Heavy Weapon Squad Autocannons
Basilisk
Taurox Prime Gatling Cannon, Autocannons
Taurox Prime Gatling Cannon, Hot Shot Las
Chimera, 2 Heavy Flamers
Hellhound
Docs Airwing
Marauder Bomber
Vulture with Twin Punisher Cannons
Valkyrie with Multiple Rocket Pods, Lascannon and Heavy Bolters
Avenger Strike Fighter with Twin Lascannon, Avenger Mega Bolter, Hellstrike Missiles
Primary Objective and Victory Conditions
1)This mission revolves around the Marauder and whether it can obliterate the airfield or not.
2)The game will last 5 turns.
3)At the end of Turn 4 if both sides have flyers in play then all flyers move to the airfield map in their relative positions.
4)At the end of Turn 5 if Marauder is in play then it drops its payload and the Imerials gain a Total Victory which includes all 3 objectives.
5)If all Ork flyers are destroyed before Turn 4 and Marauder alive see 3) above as bombing run continues.
6) If all Imperial flyers are destroyed before Turn 4 then remaining Ork flyers become 3+ reserves on Airfield map as they ignite their afterburners to go to find more fightin!
7)Ork buildings can be targeted and destroyed, Tower and Mekshop are T7 W15 and fencing towers are T8 W10
Objective Effects
Control Tower Destroyed; Mission 7 Ork Flyers in Reserve 3+ to call.
Mekshop Destroyed; Mission 7 Ork teleport deepstriking units roll scatter and 2d6, cannot land on other units or land within 9" of enemy, move along scatter line as far as possible upto the rolled value.
Runway Destroyed; Ork flyers NOT AVAILABLE, that includes ALL units with FLY keyword, for the rest of the campaign.
Sly Marbo Killed; cannot be used again in the campaign.
Master of Ordnance Killed; cannot be used again in the campaign.
Astropath Killed; Mission 7 Imperials cannot gain the benefit of either Grand Strategist or Kurovs Aquilla
Marauder destroyed; cannot be used again in the campaign.
So here we go, I will add that we played this mission in the same spirit as we have throughout the campaign; the rule of cool outweighs all other considerations. If something were to come up that spoilt the feel of the story or ruined the game we'd stop, discuss and change as needed.
Deployment;
The Orks assumed defensive positions around the airfield holding as much cover as possible though with little in the way of killing ground around the perimeter an Imperial alpha strike was unavoidable!


Battle...
The Imperial Forces move onto the airfield immediately threatening several positions.


Back on the airfield the Imperials attack but their 1st volley is less impressive than expected mainly due to the inaccuracy of moving heavy weapons, however the Mek gun is destroyed in a hail of bullets, las blasts and fire and the control tower comes under heavy fire and Psychic assault and quickly collapses into rubble and scrap; the surviving lootas tumble out of the doors into a hail of fire from the Taurox and are wiped out. (At this point Doc heaved a sigh of relief! He was more scared of the Lootas potential than he was pleased at achieving one of his objectives in turn 1!!). The burnas suffer heavy losses but hold. The remaining Imperial fire was ineffectual and with no assaults on the cards the Orks retaliated.


In the dogfight the Orks move up on the marauders tail and flanks and pulverise it with fire!


Doc had paid the CP to ensure his Avenger would immediately return to combat airspace but had to rely on the vulture making its roll.......which it failed! leaving him with only 1 escort to bring back in turn 2

Screaming onto the board the avenger targets a unit of koptas, which we have quickly realised are a major threat in this set up; their manoeuvrability combined with kopta rokkits make them a serious threat, however he only weakens them and the returning Ork fire obliterates the Marauder sending its burning wreckage plummeting to smash on the desert floor far below! The runway is safe but the Dicers can still severely hamper the Orks aerial capability. With enemies in the skies the Orks must continue to duel before they can return to defend the beleaguered airfield!
[At this point we paused to discuss the game and how we wanted to progress, had the Marauder gone too quickly? was the mission design flawed? After much discussion we decided to continue as we were, after all the Dicers were clearly over-running the Orks on the ground, we had inadvertently created 2 alpha strike opportunities, 1 for each of us, both of which had gone off beautifully! We would replay the aerial mission though later with a different set up so as to see how it could have gone.
A really important point to note here is that if you're going to play around with mission rules and the core principles of the game then be careful cos it's really easy to create imbalance, in the case of our campaign it's friendly and we are both committed to rule of cool so we change after the fact where needed. If you plan to do this kind of thing in matched play then I'd say play test any changes first.]
Back at the airfield the Dicers continued to advance, piling more pressure on the already beleaguered defenders; the burnas succumbed to the heavy weapons of the Chimeras and Taurox. More fire and Psychic assault pummelled the Mekshop. The Dicers infantry advanced onto the runway and both units of Kans were felled by a combination of bullet and blade. Sly Marbo snuck out of the shadows, his target the Orks Big Mek and his shokk attack gun, he assaulted and wounded the greenskin but failed to kill the beast!
The Stormboy Boss picked his moment to advance perfectly; they powered out of the building past the retreating Big Mek Grubbnutz and butchered the sneaky umie git [Marbo] in assault! They then weathered a lot of incoming fire which saw his entire mob destroyed but in an act of Insane Bravery the Boss stayed his course and jump packed over the enemy lines to assault the Dicers Astropath! His power klaw made short work of the psyker but the Ork fell to retaliatory strikes from a Heroically Intervening primaris psyker with force stave. Meanwhile the Grots and Biker were hunting another officer; the Master of Ordnance at the other end of the airfield, whilst he ran for safety, leaving a commissar to cover his back! The remaining Orks comprised a looted wagon and a kart with flakka gunz. The Wagon took a volley of melta fire and lost its final wound to a self inflicted Zzappgun overload! Kaboom! The kart revved its engines and fled for cover trying to stop the oncoming tide of Dicers vehicles and infantry.


The Dicers resorted to ramming the Mekshop.


Back in the Dogfight the Valkyrie re-entered the fight and a painfully 1 sided fight ensued, the 2 Imperial aircraft put up a sterling fight and punished the Orks destroying 1/2 of the koptas and damaging all the planes but they both fell to overwhelming firepower and kopta manoeuvrability.
With the skies clear the Orks headed back to base at top speed.

The sound of jets screaming closer, the Grots overran the commissar and after fruitlessly trying to pull the crew out of the basilisk they headed back around the fencing to chase down the master of ordnance, their numbers severely depleted by constant fire from ratling snipers and the basilisk itself.


With the Mekshop crumbling to dust under the sustained Dicer assault, the Ork air wing entered play to dramatic effect, their strafing run along the tarmac dismembering 2 squads of Dicers and the koptas advanced over the troops to reach the master of ordnance who was blown to shreds by a rokkit volley.


And with that we called it, 5 turns played and all objectives but the runway destruction achieved it was time for a cuppa and a debrief....
Results;
Orks killed all 3 Dicers characters
Dicers destroyed both the Control Tower and Mekshop.
Marauder destroyed and Runway intact.
DRAW.
Bluddtoofs thoughts;
We made some errors of judgement in planning the mission and failed to see how powerful the respective alpha strikes would be. Hindsight's a wonderful thing. I had a blast throughout, I really like the Dogfight system and as you'll see further down it works well if you set up fairly. In honesty Doc had some utterly terrible luck with the dice but I also think he would have fared better leaving the escorts on board to protect the marauder, it would have been much harder for me to position myself in turn 1 and then 2, but who knows, as I said hindsight is lovely. A draw is good for me overall considering how bad it was going on the airfield mid game, all three of my character kills could have so easily not come off. My unit of the game has to be DeffKoptas; in open play they are dirt cheap, combined with Evil Sunz Kulture and the dogfight system they are awesome!
An excellent game, great fun and the story progresses. thanks Doc for a good game.
Docs thoughts;
I adore this way of playing 40k it brings the roleplayer out in me and the sheer amount of terrain and models we have painted is awesome. This game was the longest in the making of all the missions due to the painting workload. I agree with Boss's comments I should of stayed on the table with my escorts as like any 40k game come on piecemeal and you will get picked off! The highlight for me was Boss's grotz who were hilariously effective and Sly Marbo perfectly positioning himself only to fluff it and then get charged by 20 stormboyz. Really disappointing to lose the astropath bad positioning on my part! Looking forward to mission 6 hopefully later this year.
The Dogfight Rerun;
So we reset the board for the flyers once we'd packed away and played with everything in full play, this meant Doc outpointed me but the Marauders bombs were pointless and kopta manoeuvrability could balance out, we would see...
We set up end to end using the rule for re-entering combat airspace.

We diced off and the Orks won..
I went straight in full bore trying to force him to overshoot me in his 1st move, alas my luck appeared to have run out and my shooting was dire! The game progressed well and became a real dogfight with both of us trying to outmanoeuvre each other.


A really useful tactic is leaving combat airspace, you can leave your remaining flyers vulnerable but it enables you to pick targets easily and gain the massive +2 bonus to hit if you're in your targets rear arc.
We played to conclusion which resulted in me being tabled but Doc having not much left and all of it badly damaged. Outplayed this time but I'll be back!
This is an excellent way to play with your flyers and has huge scope, a really tactical game.
What's Next?
Next up is Cypra mission 6; The Armoury but more on that in future posts.
We hope you've enjoyed this, we certainly did. Keep following for more Cypra posts as we both paint up our forces and some new terrain for the next mission.
Bluddtoof and Doc