Hi All
Bluddtoof here with an update on my progress towards Dreadnought number 11 for my Space Marines; the Thunderbolts. That's right, 11! I may have now reached critical mass on dreadnoughts......or maybe not!
So anyhoo, this is my second contemptor, as I said in my previous post about my latest mortis pattern I'd originally planned on a mortis contemptor, however this was shelved with the build of the mkv. Last month I visited GW HQ with some of the code boys for the FW open day and whilst browsing the store cabinets I saw the iron warriors contemptor and immediately thought "that'd look cool as a thunderbolt". Knowing I had a spare contemptor Lascannon arm in the bitz box I had a quick think about weapon options and plumped for a heavy conversion beamer and cyclone launcher (I've got plenty of assault capable dreads so another fire support dread made sense and the HCB is a nice gun.
I think this load out will make him a threat to pretty much anything non flyer and with 2 mortis dreads I've got flyers covered.
Currently...
I started the build process and straight away decided to go with sub-assemblies, which I don't usually do with my Imperial dreads. I also played with a range of basing and posing options, I considered a braced firing position but the ankles don't rotate enough to get a good look. So I decided on a stoically advancing pose with both feet posed in mid step to convey a sense of motion. I also wanted him to look like he was firing and thought through this too, I've had little success with previous attempts at OSL but I'm going to try it again on the conversion beamer and also I really wanted to try rocket exhaust modelling, (after seeing the fantastic displays at GW) so I did some research and with a little advice from the code boys I got some clump foliage and had a go.
Here's a few pics of the process of building...
The bits laid out awaiting clump foliage for the exhaust clouds.
All the load bearing joints got pinned using 1 mm uncoated jewellery wire, FW resin is very light so the pins are really only there because I don't trust "super" glue, but also to make the process of painting sub assemblies for later attachment easier.
As usual the hardest part with a contemptor is positioning of the legs and feet to get the desired pose, there are a lot of pieces to work with and super glue sets fast so you need to work quickly, again pins and dry runs are the order of the day.
Making the cyclone was really good fun and I'm pleased to have learnt a new technique, here's a series of shots...
The missiles are from the marine tactical sprues, well old ones anyway, I haven't bought a new kit so I don't know if you still get them. Carefully chop out the small, narrow shaft connecting the fins to the missile body and discard. Clean up the new surfaces and VERY carefully drill a hole in the back of the missile body and through the centre of the fin assembly.
Remove your selected missile tip(s) from the cyclone, clean and drill a hole. Fit your wire into the launcher, thread on the fin section and fit the missile body. Just the tiniest drop of thin super glue after assembly fixed the fins in place so that I could fiddle with the positioning at my leisure.
I think it's really important to use different lengths of wire to avoid an unnatural symmetry.
I spent ages wiggling and adjusting the wires to get them straight and in line!
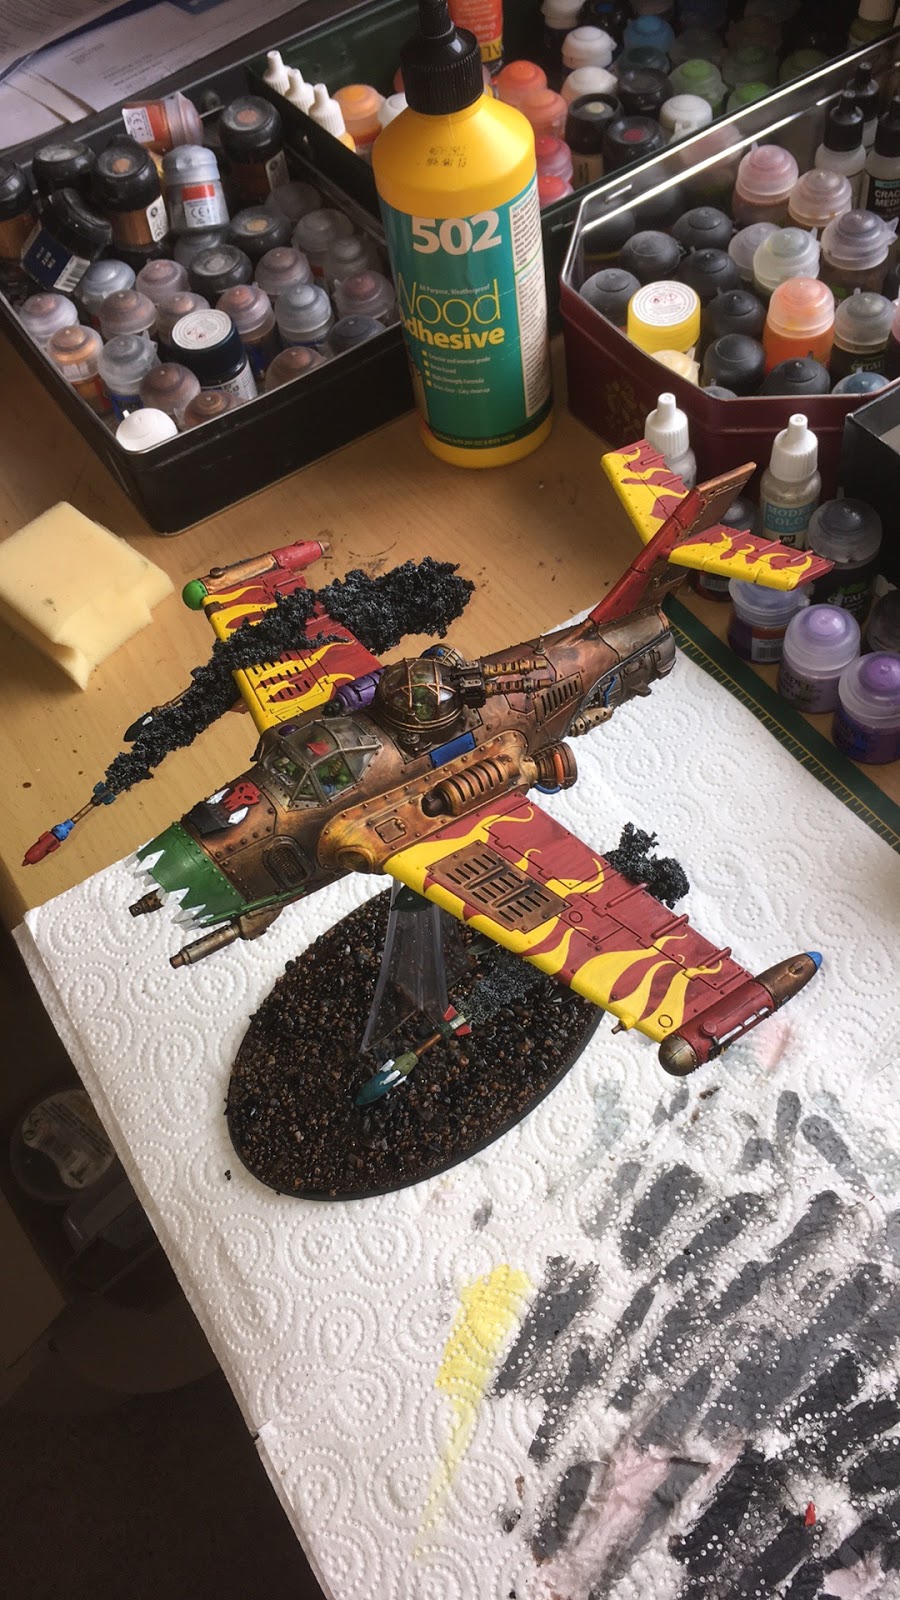
Next the exhausts!
This was surprisingly easy, if you've not used this method then I would suggest you get some NOW! Dirt cheap, a fiver for a huge bag, and easy to use. The clumps break into bits easily but hold size and shape too allowing you to fix a clump in place and then carefully pinch little bits off to get the desired structure. Once it was built I gave the whole piece a good coat of spray matt varnish to hold it and stop the foliage from sucking up too much paint.
All in all very pleased, next post will be with more paint on it.
As ever C & C welcome.
Bluddtoof